The fun new way to whiten your teeth using the latest LED technology!
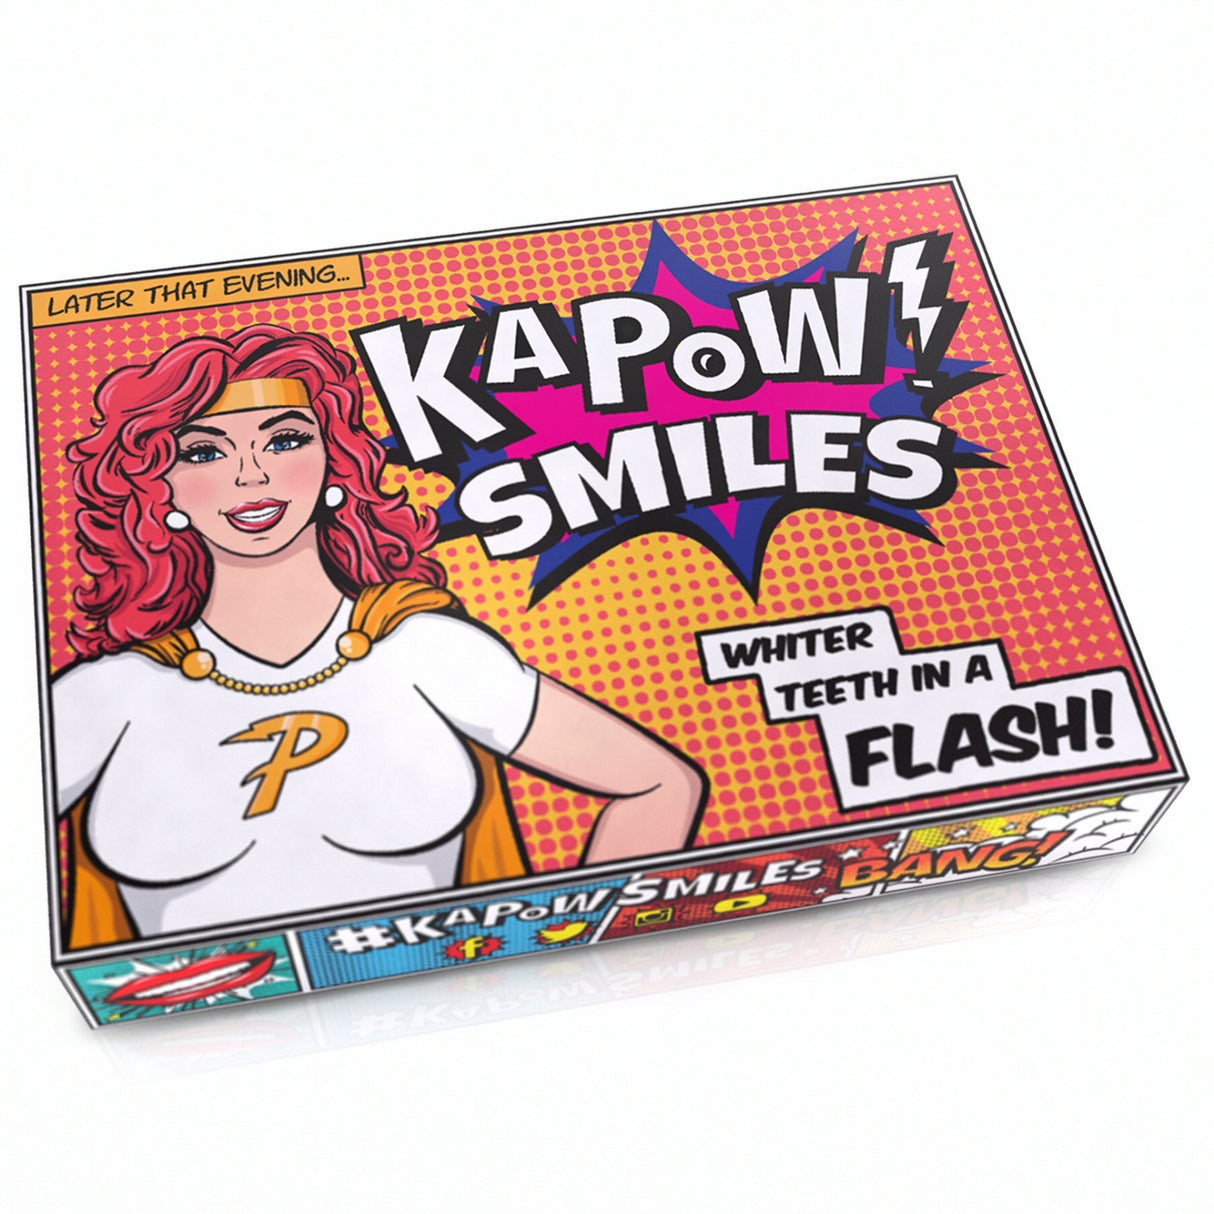
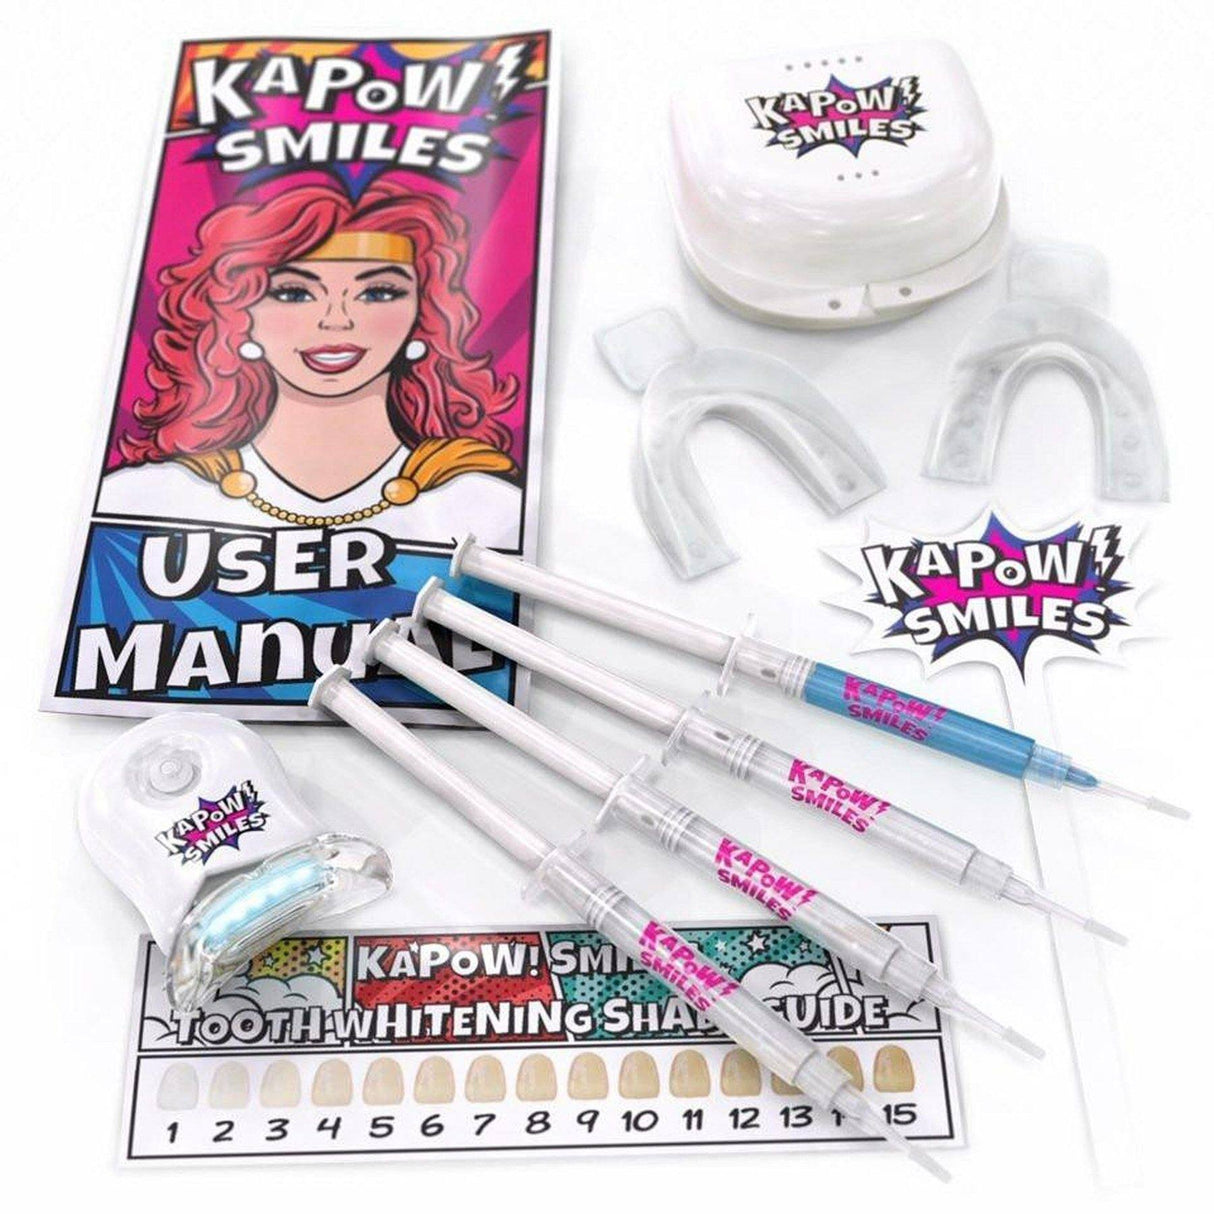
KAPOW! Smiles is Australia's freshest teeth whitening brand and the fun new way to whiten your teeth with the latest LED technology. Created by the pioneers of DIY home teeth whitening in Australia and backed with over 12 years experience, we use only the highest quality ingredients in our kits and our gel is the highest strength bleaching gel available in Australia - meaning whiter teeth in a zaaap! At KAPOW! we want you to feel confident knowing our products are packed with a punch, which is why all our teeth whitening kits come with a GUARANTEE to make your teeth whiter! KAPOW! Smiles Zero Kit is specifically designed for those who want maximum whitening results with zero fuss. Includes everything needed to whiten your teeth fast!
- Strongest whitening strength available in Australia
- Kit Includes 3 syringes - enough for 9 treatments
- Easy to use from the comfort of your own home
- Includes everything needed to whiten your teeth
- FDA approved and cruelty free
- 100% pure with no dangerous fillers or additives
- Whitens tobacco, coffee, antibiotic, genetic stains
- Same whitening formula as sold in dental offices
-
Teeth Whitening Gel
KAPOW! Smiles professional strength whitening formula, comprised of 18% carbamide peroxide, is specially formulated with the highest quality standards and abides to all Australian regulations. To obtain the quickest and most desirable whitening or bleaching results, it is important to have a dentist grade, high quality product that you can count on. Our gel uses a very powerful high-viscosity 'sticky' gel that ensures proper distribution and adhesion during your teeth whitening sessions. -
6 LED Whitening Light
LED Meteoric Whitening Booster Light uses the same "Blue Spectrum" technology that is used by dentists during professional laser teeth whitening. By using our light during your KAPOW! session, it will both enhance and speed up your results. Our lights are uniquely designed with 6 LED bulbs, compared to only 1 LED in our competitors kit's which is not strong enough for serious whitening action! -
Whitening Trays
Our mouldable mouth trays are made of a flexible substance, which when heated as instructed in our included User Manual, will contour to the shape of your own mouth and teeth. This achieves a truly customised whitening experience that provides you with the best results for your unique teeth structure. -
Desensitising Gel
Everyone wants a beautiful whiter smile but some people's teeth are just too sensitive to the whitening gel which can cause discomfort during the session. To allow everyone to be able to whiten their teeth, we have included our desensitising gel in our KAPOW! Whitening Kit to help revitalise your enamel and make tooth pain a thing of the past!
How To Use
STEP 1 - MOULD YOUR MOUTH TRAYS
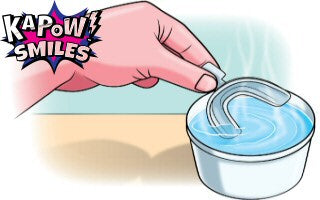

STEP 2 - TRIM MOUTH TRAYS TO CORRECT HEIGHT
After moulding both mouth trays, use scissors to cut any excess from the tops of the trays at the gum-line. Trimming the trays will avoid any possibly soft tissue irritation caused by whitening.

STEP 3 - APPLY TEETH WHITENING GEL
Place a small drop of gel on each tooth impression on the upper and lower mouth trays (important do not overload - less is best). Insert the upper and lower trays into your mouth and rest properly into the teeth impressions. Put gentle pressure on the upper mouth by pushing on your upper lip with your fingers in order to insure a tight fit. Do the same with the lower mouth tray.


STEP 4 - ACTIVATE LED LIGHT & WHITEN TEETH
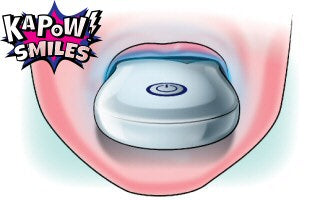
The LED whitening light is used at the same time to help speed up your results. Open the battery lid and remove the protective battery slip underneath the batteries. Reinsert batteries and ensure lid is tightly locked. Place your lips over the clear plastic mouthpiece and turn on your light be pressing the middle button. For best results, use the light every time you whiten your teeth.
Wear move trays for approximately 30-45 minutes total time. We recommend starting at 30 minutes and gradually increasing the amount of time worn. Remove mouth trays and rinse in cold water. Store in a clean, dry place. Repeat daily until ideal shade of white is achieved.
STEP 5 - REMINERALISE
Rinse the trays with cold water and allow to dry. Apply a string of desensitising gel to the front inner surface of your upper and lower trays and wear for 10 minutes. Expel any remaining gel (do not rinse) and refrain from the consumption of food or beverage for 30 minutes. If after this time any gel remains, rinse mouth with water.


